5S is a methodology that promotes organization and cleanliness in the workplace by eliminating nonvalue added waste. In a Toyota factory in Japan during the 1970’s, Taiichi Ohno identified the 7 forms of waste in the workplace- which can be remembered by an acronym, TIMWOOD. When 5S is implemented and sustained correctly it can eliminate the wastes that you experience in your everyday workflow.
In order for 5S to have a long-lasting impact on your organization, it must become embedded in your company’s culture. Management must have proficient training and buy into the impacts that it can bring into your workplace. Look at it as an opportunity to unite your company through a common goal. As you continue your Lean journey you can partner 5S with other Lean tools to continuously improve your company.
Benefits of 5S
Implementing and sustaining a company-wide 5S system leads to many benefits, including:
- Decrease in nonvalue added waste
- More efficient process flow
- Increased employee productivity
- Reduced costs
- Improved quality
- Workplace morale
- Effective use of space

Steps of 5S
| # | Step | Description |
|---|---|---|
| 1 | Sort | Sort items in your workspace and remove unneeded items, tools and paperwork. |
| 2 | Set In Order | Organize tools and items according to their frequency of use. |
| 3 | Shine | Clean the work area. Create a daily/weekly cleaning plan. |
| 4 | Standardize | Create easy-to-understand processes for maintaining your 5S program. |
| 5 | Sustain | Develop a company-wide culture that embraces 5S and rewards consistency. |

Step 1: Sort
It’s time to clean it up! In this step, we will be removing the unnecessary items in your work area that do not serve a direct purpose. To ensure success from your 5S sorting event, consider the following guidelines:
- Set a date and time for your event and properly communicate that information with all team members and stakeholders.
- Acquire the supplies needed to complete the sort stage (Red Tags, pens, floor tapes, camera, etc.).
- Create a centralized “Hold Area” to store all future Red Tag items.
- Set clear criteria for determining if an item should be Red Tagged or left in its place. As you set the criteria, ask yourself: "Is this item/equipment/tool necessary for me to perform my daily tasks?" "Will I use it in the next 48 hours?" "If I do need it, how many should I keep?"
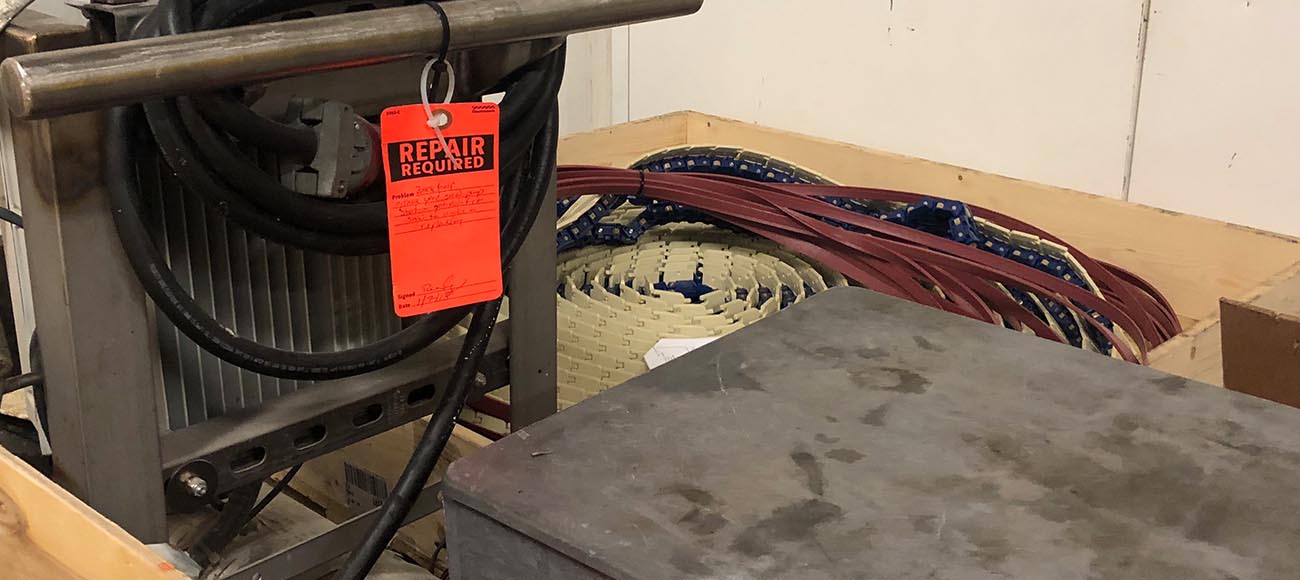
Following these guidelines, it’s time to get to work! Before you do anything, grab your camera and take some before photos so you can review your progress with the team later. Next, we will begin to clean up by applying Red Tags to all items that do not need to be in your work area. Following the sorting criteria you established, look around your area and apply tags to all items that need to be removed. After you have assessed all items in your area move all Red Tag items to the “Hold Area” for further evaluation. Assign team members to specific items in the Hold Area to discard, repair, repurpose or donate. Update your company 5S board, including after photos, to acknowledge and congratulate your team on a job well done!
As you set the criteria, ask yourself: "Is this item/equipment/tool necessary for me to perform my daily tasks?"
Step 2: Set In Order
It’s time to organize and arrange what remains. In the simplest terms, a place for everything and everything in its place. Keeping in mind that the overall goal of 5S is to increase efficiency; arrange your remaining items so that there is no wasted movement in the workflow, items are easily identifiable, and all items have an assigned location.
Depending on your industry, this is the step where you establish several visual cues to help sustain your 5S program:
- Use a 5S Board
- A 5S board can include Team Members, Implementation Plan, Routine Checklist, Recent Audit Scores, News & Updates.
- Color code your work areas and items
- Use Color Coding Tape to create a color-based system for keeping your workspaces, storage, and tool cribs organized.
- Label where everything is located
- Label all storage locations, bins, cabinets, shelves, tools, etc.
- Mark your floors and work cells
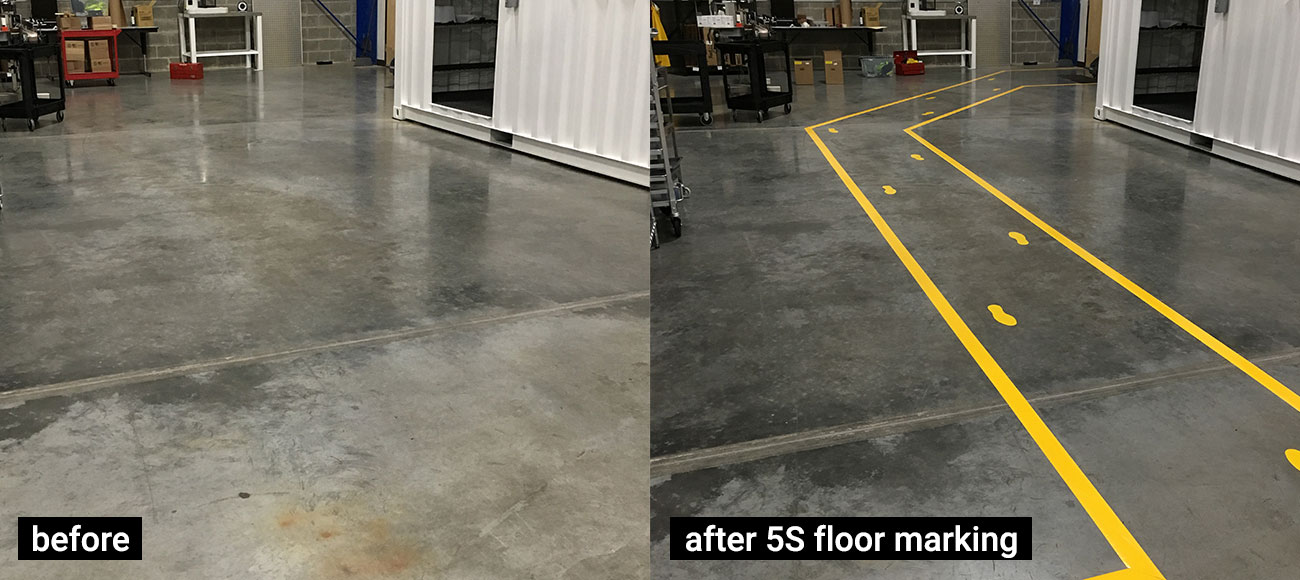
- Use floor tapes and floor signs to clearly mark off pedestrian walkways, forklift areas, staging zones, hazard areas, evacuations routes, etc.
- Optimize your tool storage
- Use shadow boards or foam tool kits to reference where tools should be stored and make it easy to see when a tool is not put back in its place.

By outlining pedestrian walkways, defining hazardous areas that require attention, and labeling the correct homes for tools, equipment and other objects means that employees and visitors can immediately understand how things should be and takes the guesswork out of navigating your facility.
"A place for everything and everything in its place."

Step 3: Shine
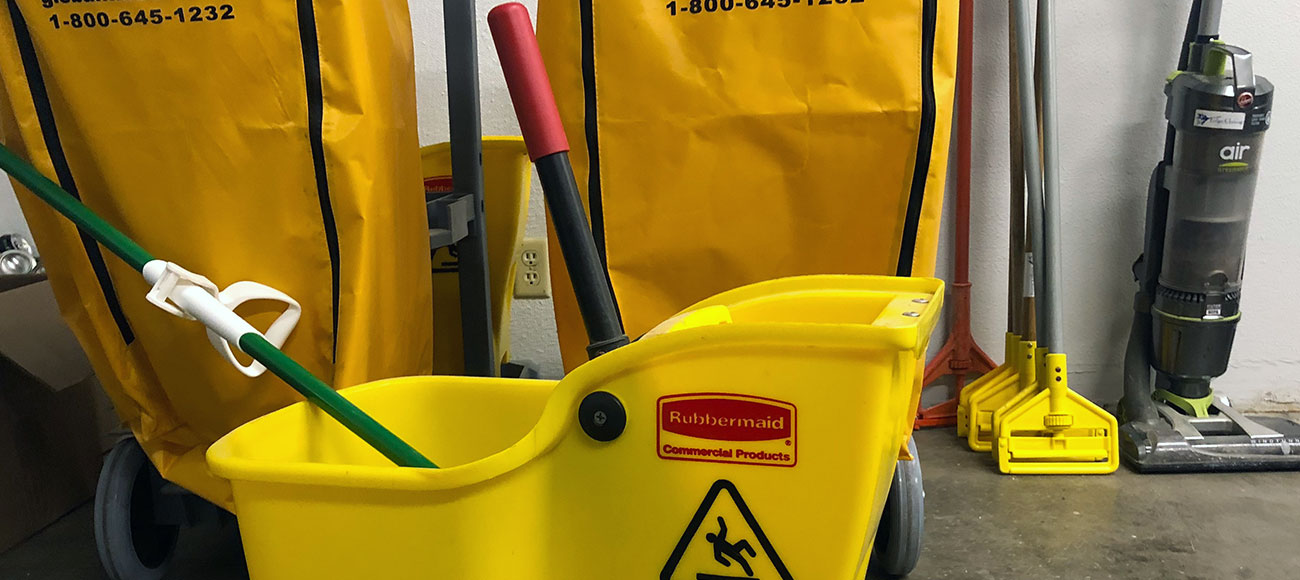
The literal translation of step 3 from the Japanese word (seiso) is “cleaning”. Ensure that all cleaning materials are easily accessible, that your workplace has been swept and cleaned, and that everything is in working order. Set up a routine cleaning schedule (some tasks will be daily/weekly/monthly) and continuously look for ways to improve and maintain the cleanliness in your facility.
Focus areas to clean:
- Floors/walkways
- Work cells/production line
- Tools/machines/equipment (keep free of greases & oils)
- Cabinets/storage
- Inventory areas
Set up a routine cleaning schedule and continuously look for ways to improve and maintain the cleanliness in your facility.

Step 4: Standardize
Establish standardization across your organization to maintain and ensure the first 3 steps become part of the regular work routine. The goal of standardization is to create conformity with the standards you have set in place to assure consistency. The standard of maintaining and repeating the Sort, Set In order and Shine steps need to be obvious and properly communicated to all stakeholders. This might include establishing a routine cleaning schedule and revisiting previously agreed upon processes to evaluate if improvements can be made.
During this step, some organizations like to create a 5S Agreement so there is a written reflection of the responsibilities of each employee. The agreement defines best practices and standard operating procedures for completing tasks.
The goal of standardization is to create conformity with the standards you have set in place to assure consistency.
Step 5: Sustain
We’ve made it to the last step- and quite frankly- the hardest step. The direct translation of this step (shitsuke) means “training & discipline.” However, the more commonly used phrase is "Sustain". In the previous step, you standardized the responsibilities and best practices to maintain your 5S program. Now, you and your company must be disciplined enough to maintain the procedures that have been established. The most efficient way to do this is to schedule routine audits to make sure the steps are being followed by all departments and employees.
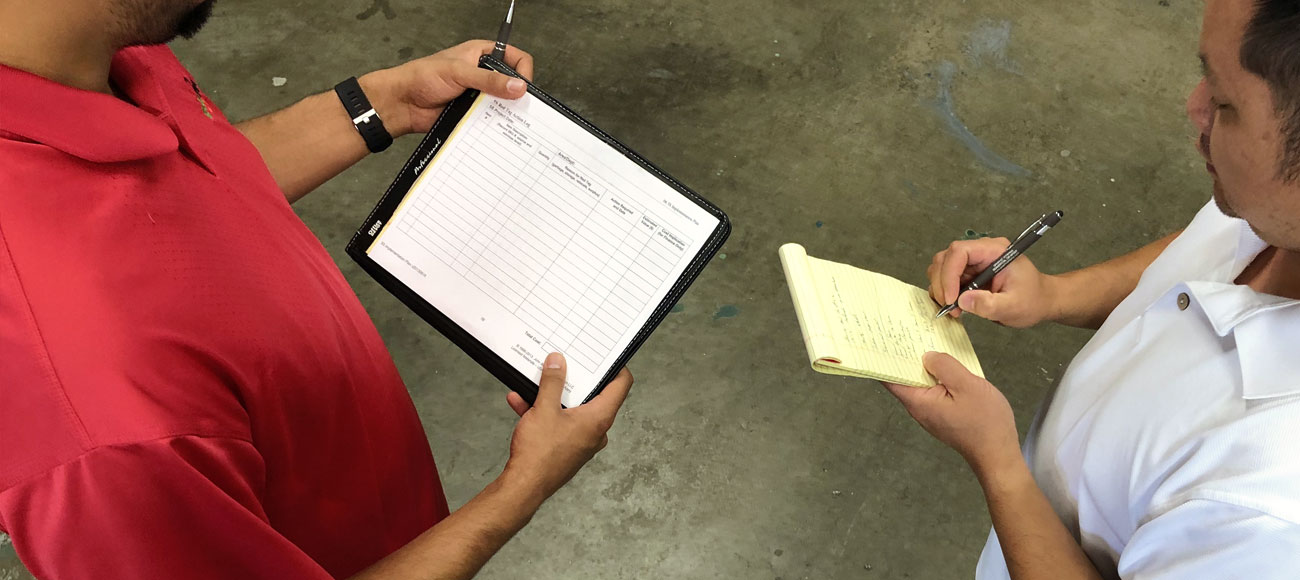
During audits, use a 5S Checklist or Assessment Worksheet to evaluate how successfully each of your department(s) have been at sustain the 5S steps in their areas. If parts of the agreement are not being upheld, it is management's responsibility to work with their teams to find out why the steps are being followed and collaborate on a solution. Once a solution has been agreed upon, establish the change to the Agreement and sustain the change moving forward.
During audits, use a 5S Checklist or Assessment Worksheet to evaluate how successfully each of your department(s) have been at sustain the 5S steps in their areas.
To reiterate, your organization must be fully immersed in 5S methodology for the sustain step to succeed. Practice continuous improvement in your workplace and engage in consistent training to improve employee knowledge. Here are some helpful ideas to sustain your 5S program:
- Hold weekly improvement brainstorming sessions
- Celebrate accomplishments
- Establish a friendly internal competition with a reward for the department that scores highest on an audit
Free eBook: How To Create a 5S Culture
Learn how to implement 5S with our free Guide. Download now.
