
What Does a Warehouse Rack Need to Be Labeled With?
Short answer: most racks need two kinds of labels. Location labels (often with barcodes) tell people and scanners where every pallet and carton lives. Load capacity plaques tell forklift drivers how much each level and bay can safely hold. OSHA has no rack-specific labeling rule, but it cites rack hazards under the General Duty Clause and points to the rack industry standard, ANSI MH16.1, which calls for permanent load plaques.
Done right, rack labels speed up picking, cut mis-picks, and keep racks from being overloaded. Done wrong, labels peel, can't be scanned from the floor, or list capacities for a rack that has since been reconfigured. This guide covers what to label, what the plaques should say, and how to plan a labeling project.
Benefits of a Good Rack Labeling System
- Faster picking and put-away, with fewer errors.
- Accurate inventory counts and a cleaner WMS.
- Drivers know the safe load for every level before they lift.
- New hires and temp staff can find locations on day one.
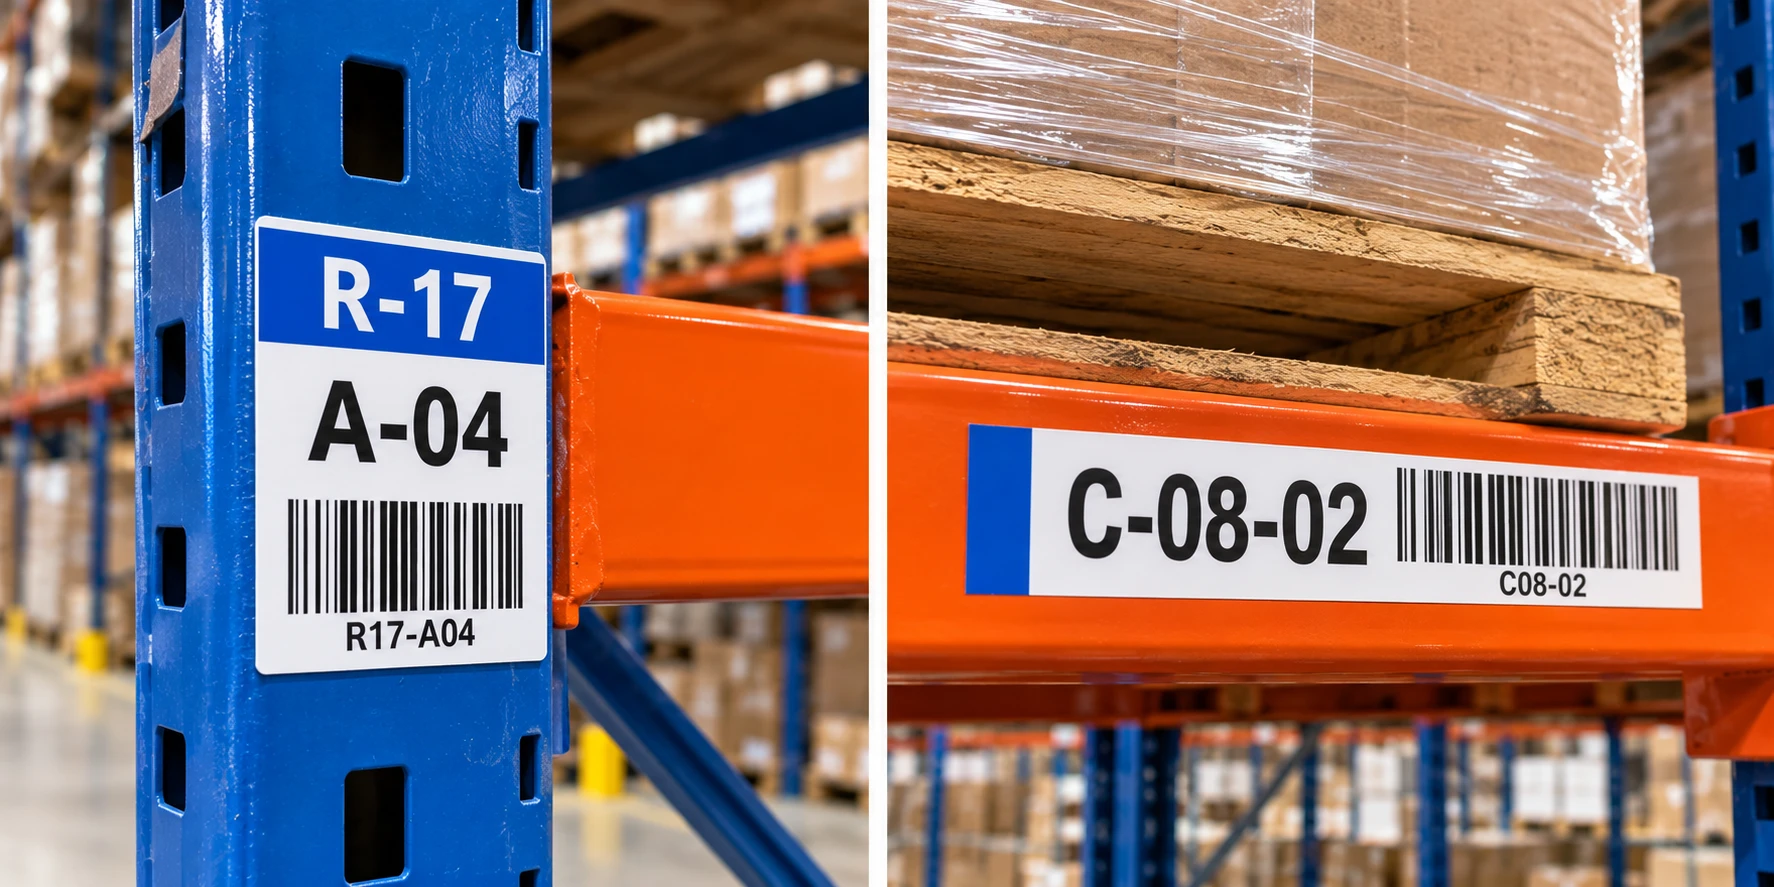
Rack Labeling Essentials
| # | Element | Description |
|---|---|---|
| 1 | Location Scheme | A consistent address for every aisle, bay, level, and position. |
| 2 | Location Labels | Durable beam labels, often barcoded, sized and placed so they can be read and scanned from where people work. |
| 3 | Load Capacity Plaques | Permanent plaques at least 50 square inches, posted in a conspicuous spot, showing rated loads per ANSI MH16.1. |
| 4 | Aisle and End Signs | Signs that let people find the right aisle from a distance. |
| 5 | Upkeep | Replacing damaged labels and updating plaques whenever the rack is changed. |
Element 1: Build a Location Scheme First
Before printing a single label, decide how every location will be addressed. Changing the scheme after labels are up means doing the work twice.
- Use a fixed format, such as Aisle-Bay-Level-Position (for example, 04-12-C-2).
- Match the format to your WMS so the barcode and the system agree.
- Number bays in the direction people travel, and decide whether levels count up from the floor.
- Leave room in the numbering for future racks and aisles.
A spreadsheet of every location becomes your print file, so label production goes fast and nothing gets missed.
Get the address scheme right, and the labels almost design themselves.
Element 2: Choose the Right Location Labels
Rack labels take a beating from pallets, forks, and cold. The right material and layout make the difference between labels that last for years and labels you replace every quarter.
- Use multi-level labels on the lowest beam when upper levels are hard to scan from the floor.
- Color-code levels so pickers can spot the right level at a glance.
- Pick a material and adhesive rated for your environment, especially in freezers and coolers.
- Size barcodes for the scanning distance your team actually works at.
- Place labels where forks and pallets are least likely to scrape them.
You can print rack labels in-house with a LabelTac Pro X label printer, or have Kasama produce and install custom rack labels for you.
A rack label is only useful if it can be read, scanned, and survive the aisle.
Element 3: Post Load Capacity Plaques
OSHA's materials storage rule, 29 CFR 1910.176(b), says storage must not create a hazard and stacked materials must be stable and secure against sliding or collapse. OSHA doesn't have a rule that names rack plaques, but it has used the General Duty Clause to cite missing load ratings, referring to the rack manufacturer's guidance or ANSI MH16.1. The current edition is ANSI MH16.1-2023.
- Post permanent plaques of at least 50 square inches in one or more conspicuous locations, such as the end of each rack row.
- Show the maximum permissible unit load and/or maximum uniformly distributed load per level.
- Show the average unit load and the maximum total load per bay.
- Identify levels designed for multiple stacked unit loads.
- Keep the load application and rack configuration (LARC) drawings that the capacities came from.
Capacities come from the rack manufacturer or a qualified engineer, not from a guess. Kasama makes and installs the plaques once you have those numbers.
Every rack row should tell drivers its safe load before they lift.
Element 4: Add Aisle and End-of-Row Signs
Beam labels tell people exactly where they are. Aisle signs get them to the right aisle in the first place.
- Hang aisle signs high and double-sided so they can be read from the main travel path.
- Use end-of-row placards that repeat the aisle number and the range of bays.
- Pair rack labeling with floor marking for aisles, staging lanes, and keep-clear zones.
- Protect rack uprights in busy aisles with collision protection so labels and racks both stay intact.
See our facility signs for aisle and warehouse signage options.
Signs get people to the aisle; labels get them to the exact location.
Element 5: Keep Labels and Plaques Current
Racks change. Beams get moved, bays get added, and labels get scraped off. A label plan needs upkeep built in.
- Update the load plaque any time beams are moved or the rack is reconfigured, since capacities may change.
- Add rack label checks to your regular rack inspections.
- Keep the print file so replacements match the originals.
- Keep stored materials at least 18 inches below sprinklers, as required by 29 CFR 1910.159(c)(10).
Our warehouse safety audit checklist covers racks, labels, and the rest of the building.
A plaque that doesn't match the rack is worse than useless; update it with every change.
Free Rack Labeling Walkthrough
We'll walk your racks, review your location scheme, and quote labels and plaques.